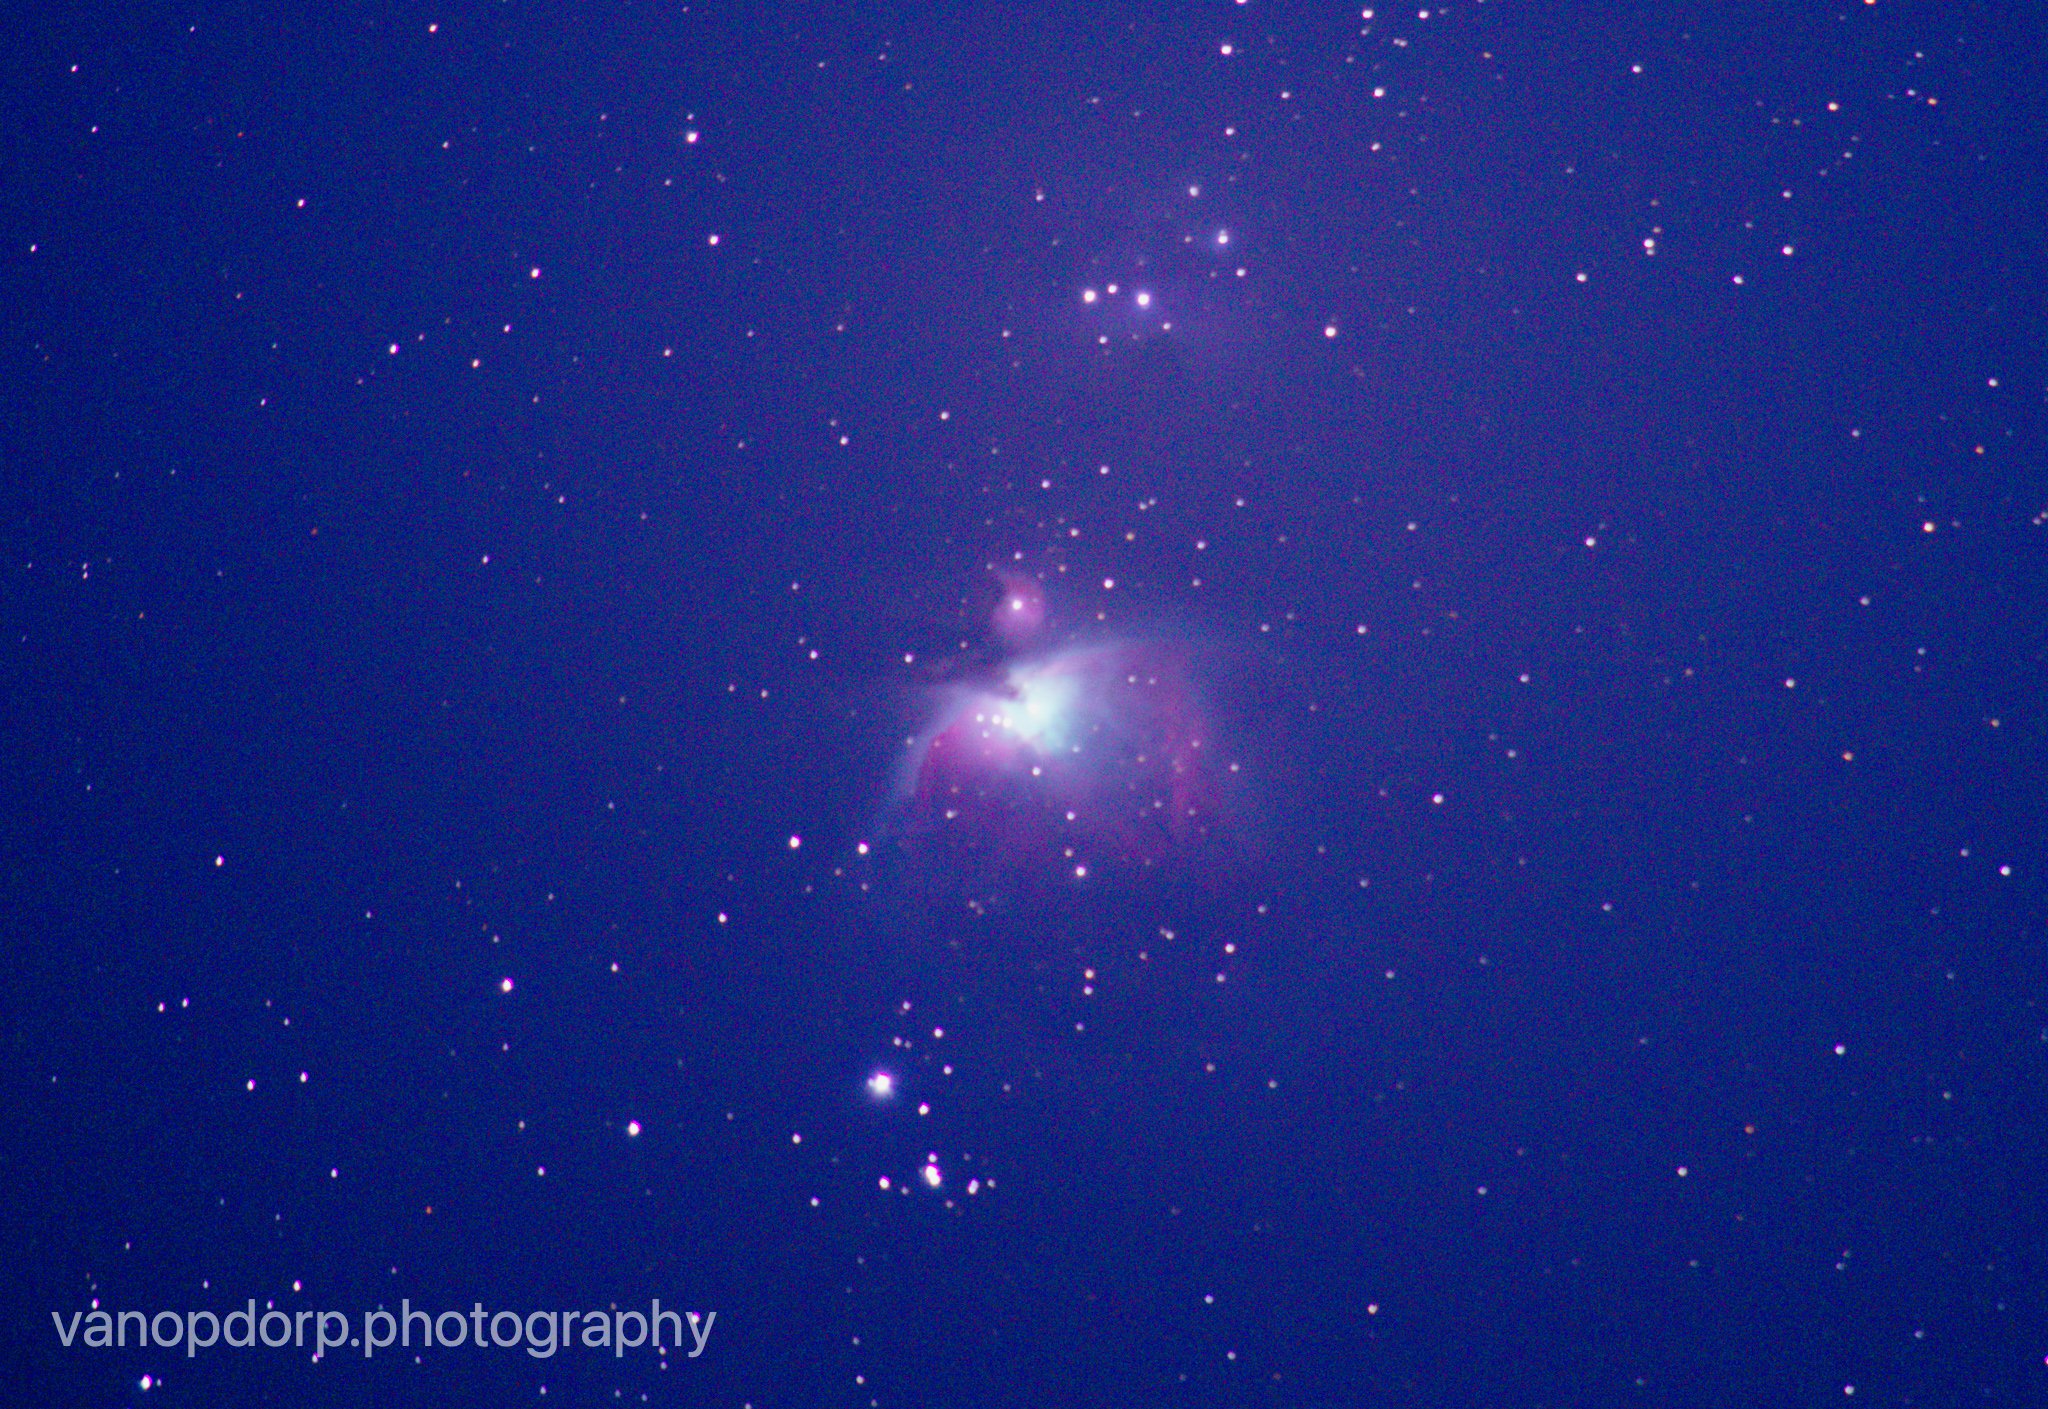
This past weekend I decided to shoot the Orion Nebula, which is a supernova remnant that is a distant 1,344 light years away, in the constellation of Orion. It was a clear weekend so I figured why not give it a shot. I usually go up to the mountains for my astrophotography to get away from the light pollution, but I already had plans to go up on Sunday, so I decided to give it a shot from my driveway. The most important factors in taking deep sky images is finding a location with little light pollution (which was not ideal for me this weekend), having a clear path of the object you wish to shoot, and being able to see the North Star, or Polaris in the Northern Hemisphere, and the Southern Cross in the Southern Hemisphere. In order to take long exposures of the night sky you need to have a star tracker, which you align with the north or south celestial poles, depending on which hemisphere you are in, but it is also possible to take photos without a star tracker. In order to do that you must take tons of shorter exposures from a tripod. For this image I shot 30 second exposures at ISO 800. I also added in some dark frames which help reduce the amount of noise found in the image. All of the light frames came to a total exposure time of around 2 hours.
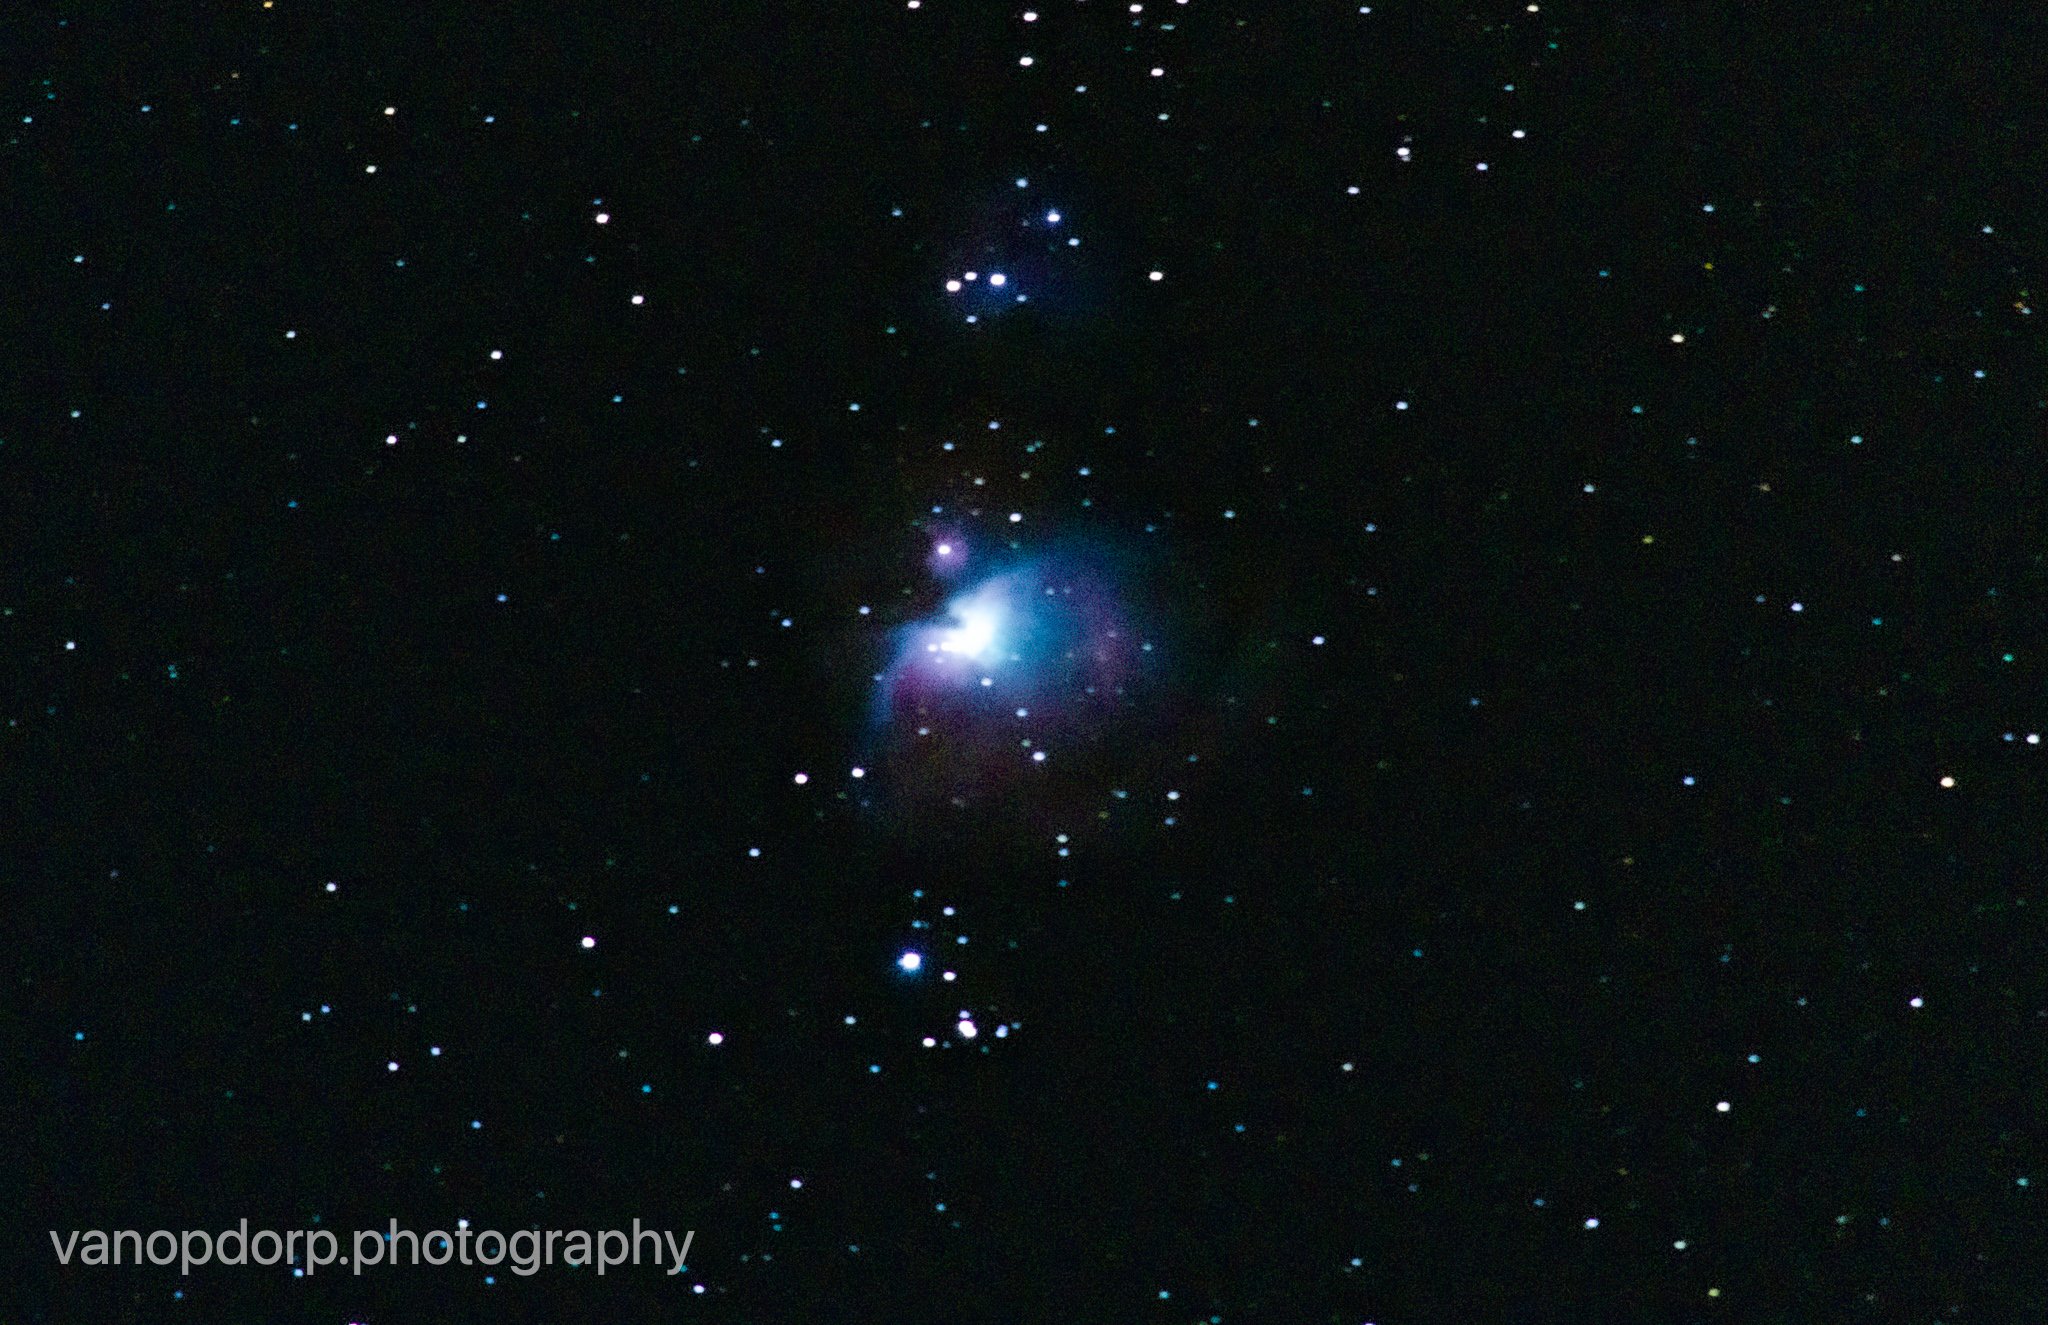
I’ve shot the Orion Nebula before, but never tracked. Needless to say I am very happy with how the final image came out. For this capture I used my Canon Rebel T7i DSLR camera with my William Optics Redcat 51 telescope. It was all attached to my Sky Watcher Sky Guider Pro star tracker, which was aligned with Polaris. The telescope has a focal length of 250mm, but since my camera has a 1.6x crop factor the total focal length was 400mm, which is perfect for shooting this deep sky object. Shooting spanned over two nights since my tracking started to mess up on Friday. I tried to fix it and realign with Polaris but for some reason the tracker continued to fail and caused the stars to trail across the image. I got about an hour of exposure time that night before I called and decided to try again the next night. It was clear the next night and my tracking did not fail that night, thankfully. This was the night that I captured around an hour and a half of exposure time, and also took my dark frames. Dark frames reduce the amount of noise found in the image after you stack all of the light frames together. Stacking is where you take all of your light frames (the photos of the actual subject) and put them all together to help bring out more detail and also reduce a little bit of noise. I left my camera to do its work while going out every so often to make sure that the images were still acceptable, and to initiate another sequence of photos.
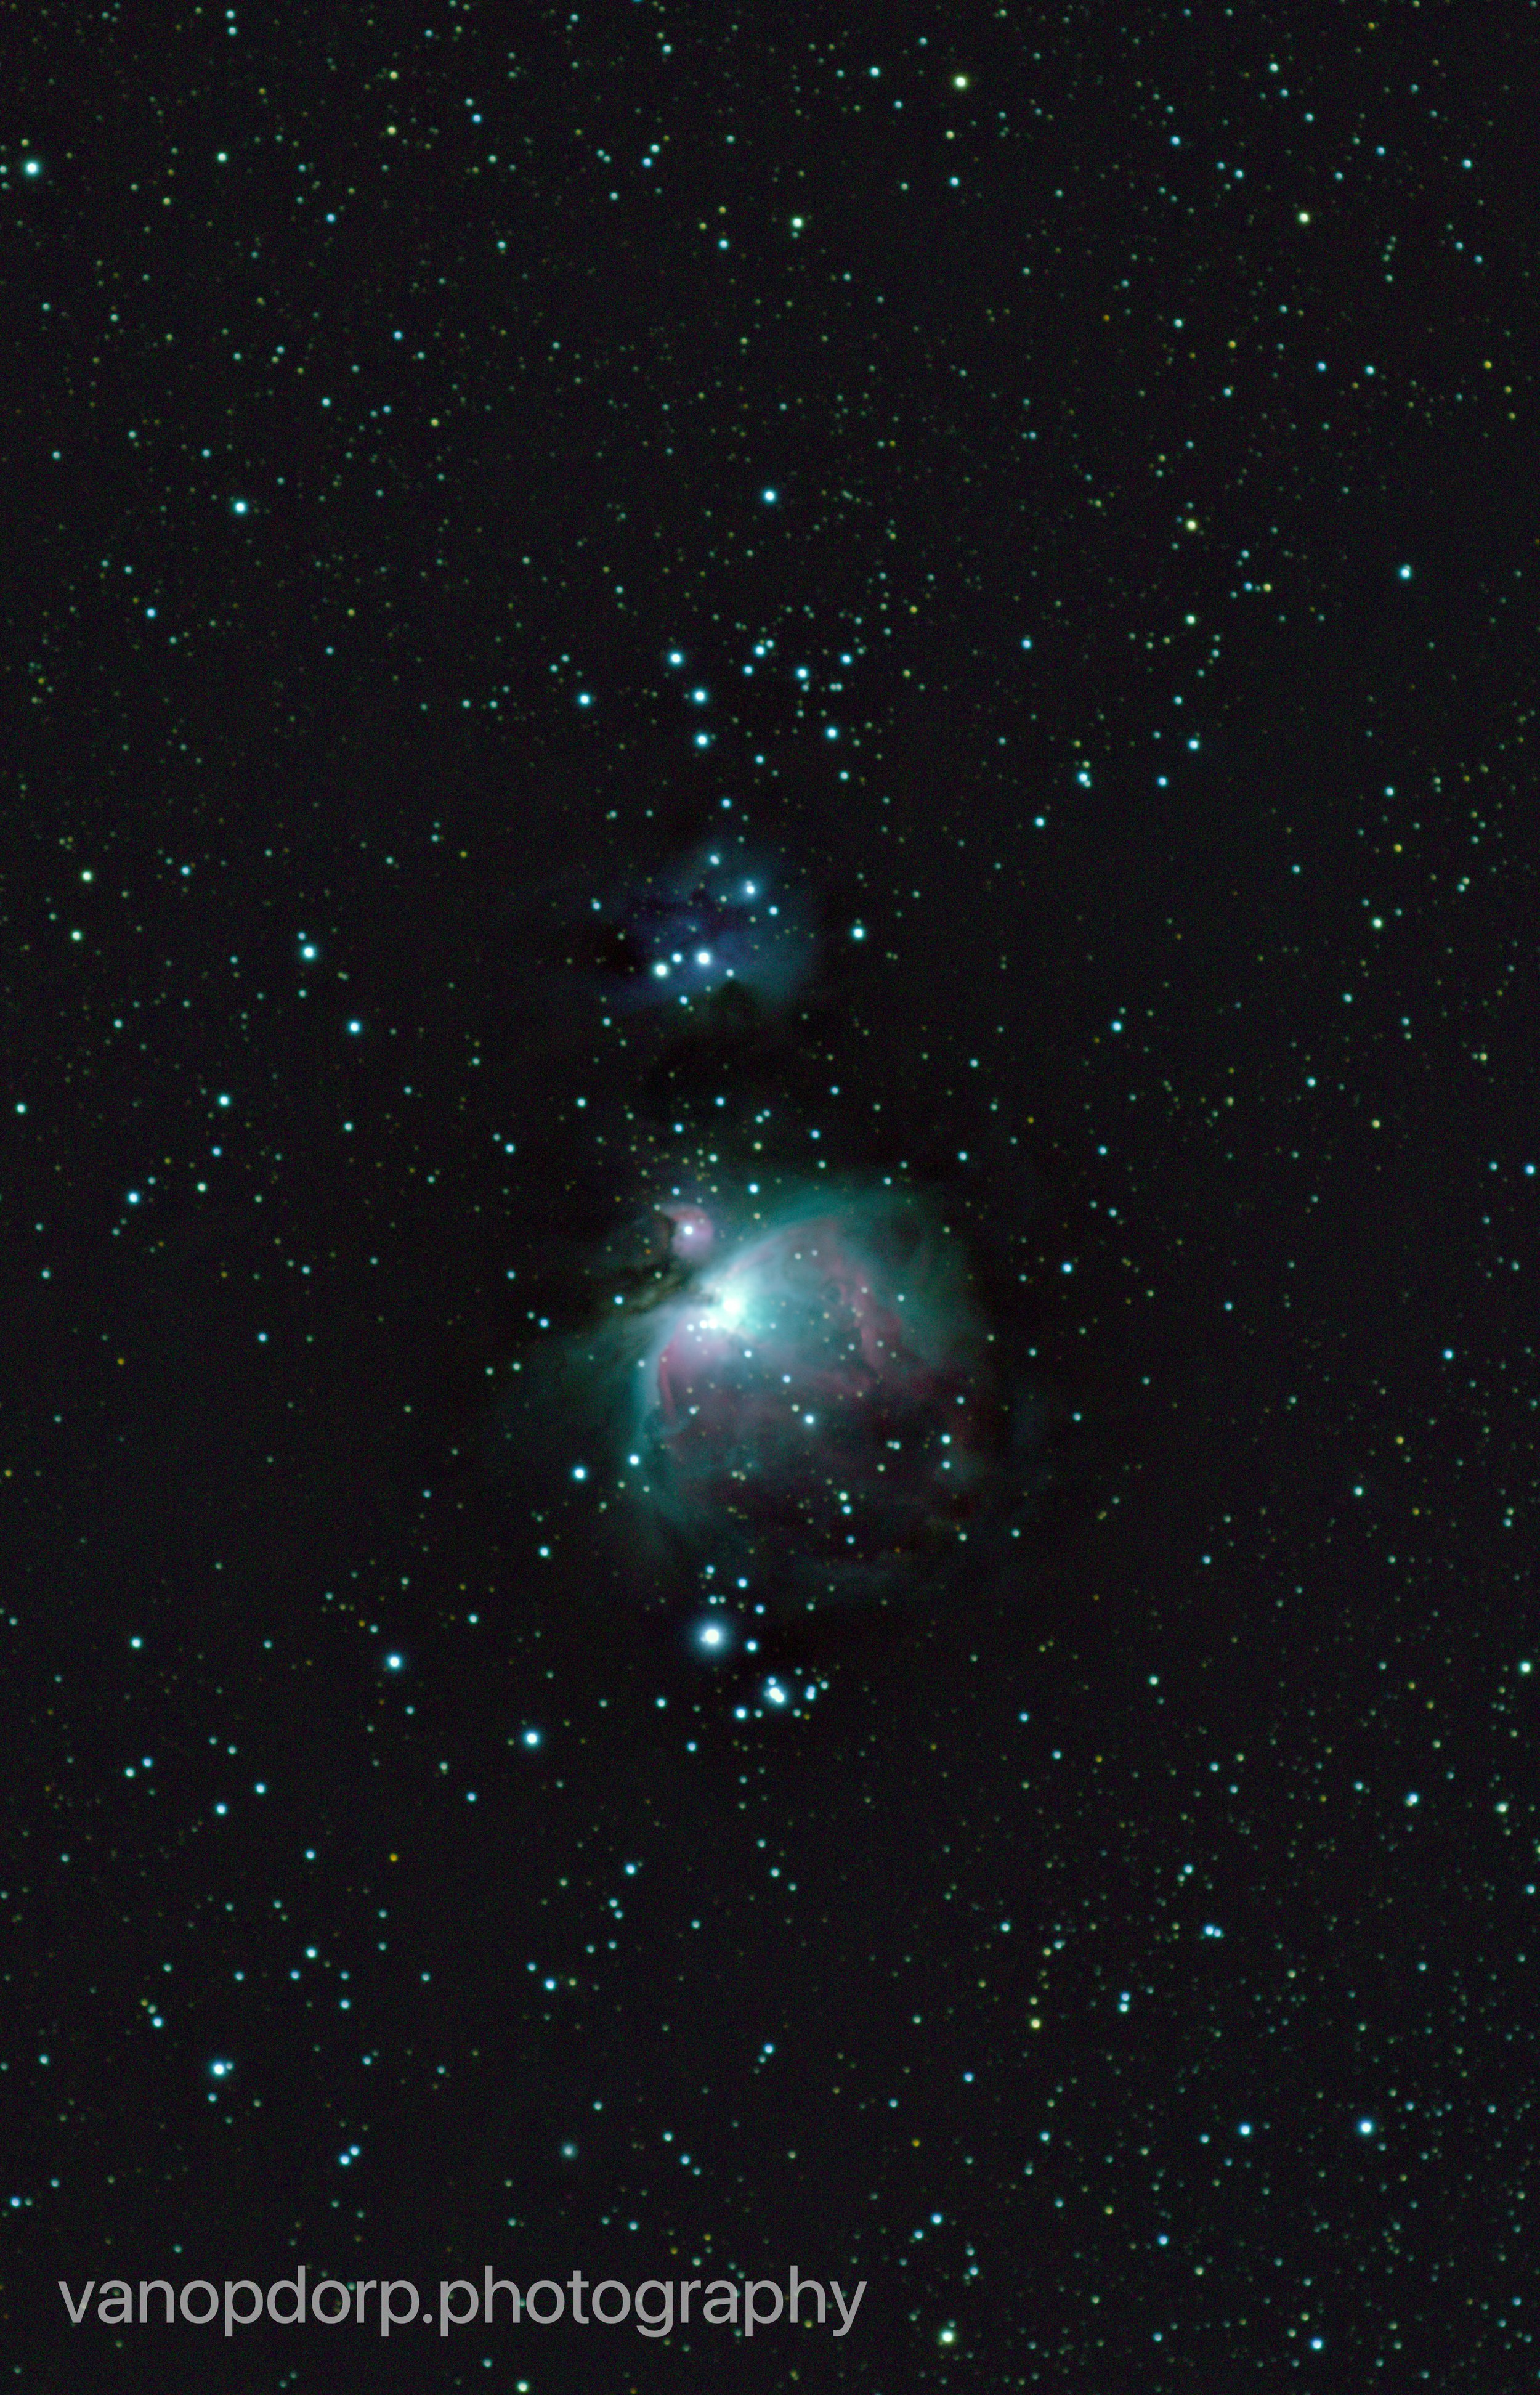
Now the editing is where all of the magic happens. I’ve noticed that the image doesn’t really look much different from the stacked image until the second stretch. Stretching an image is when you add contrast to an image. The process for creating a stunning final image all comes down to the editing. To start I did an initial stretch to see how much detail I could bring out in the image before doing any other edits. Then, I “removed” the background, which essentially means that I took the purple color from the image, and removed it to make it a darker gray or black color to make it look more natural. Then came the second stretch, which is where most of the detail comes out. After that it was mostly just a few smaller adjustments to make the image look more colorful and natural.
I had taken two previous images of the Orion Nebula from a tripod, but even those were only around 30 minutes to an hour of exposure time. I am very happy with how this final image came out and I am excited to improve on this target and create more, much more detailed photos of it in the future.

