November 8, 2023 Jacob VanOpdorp Learning, Gear Shooting Techniques November 8, 2023 Jacob VanOpdorp Learning, Gear In this post I dive deeper into shooting techniques and how you can create unique images.
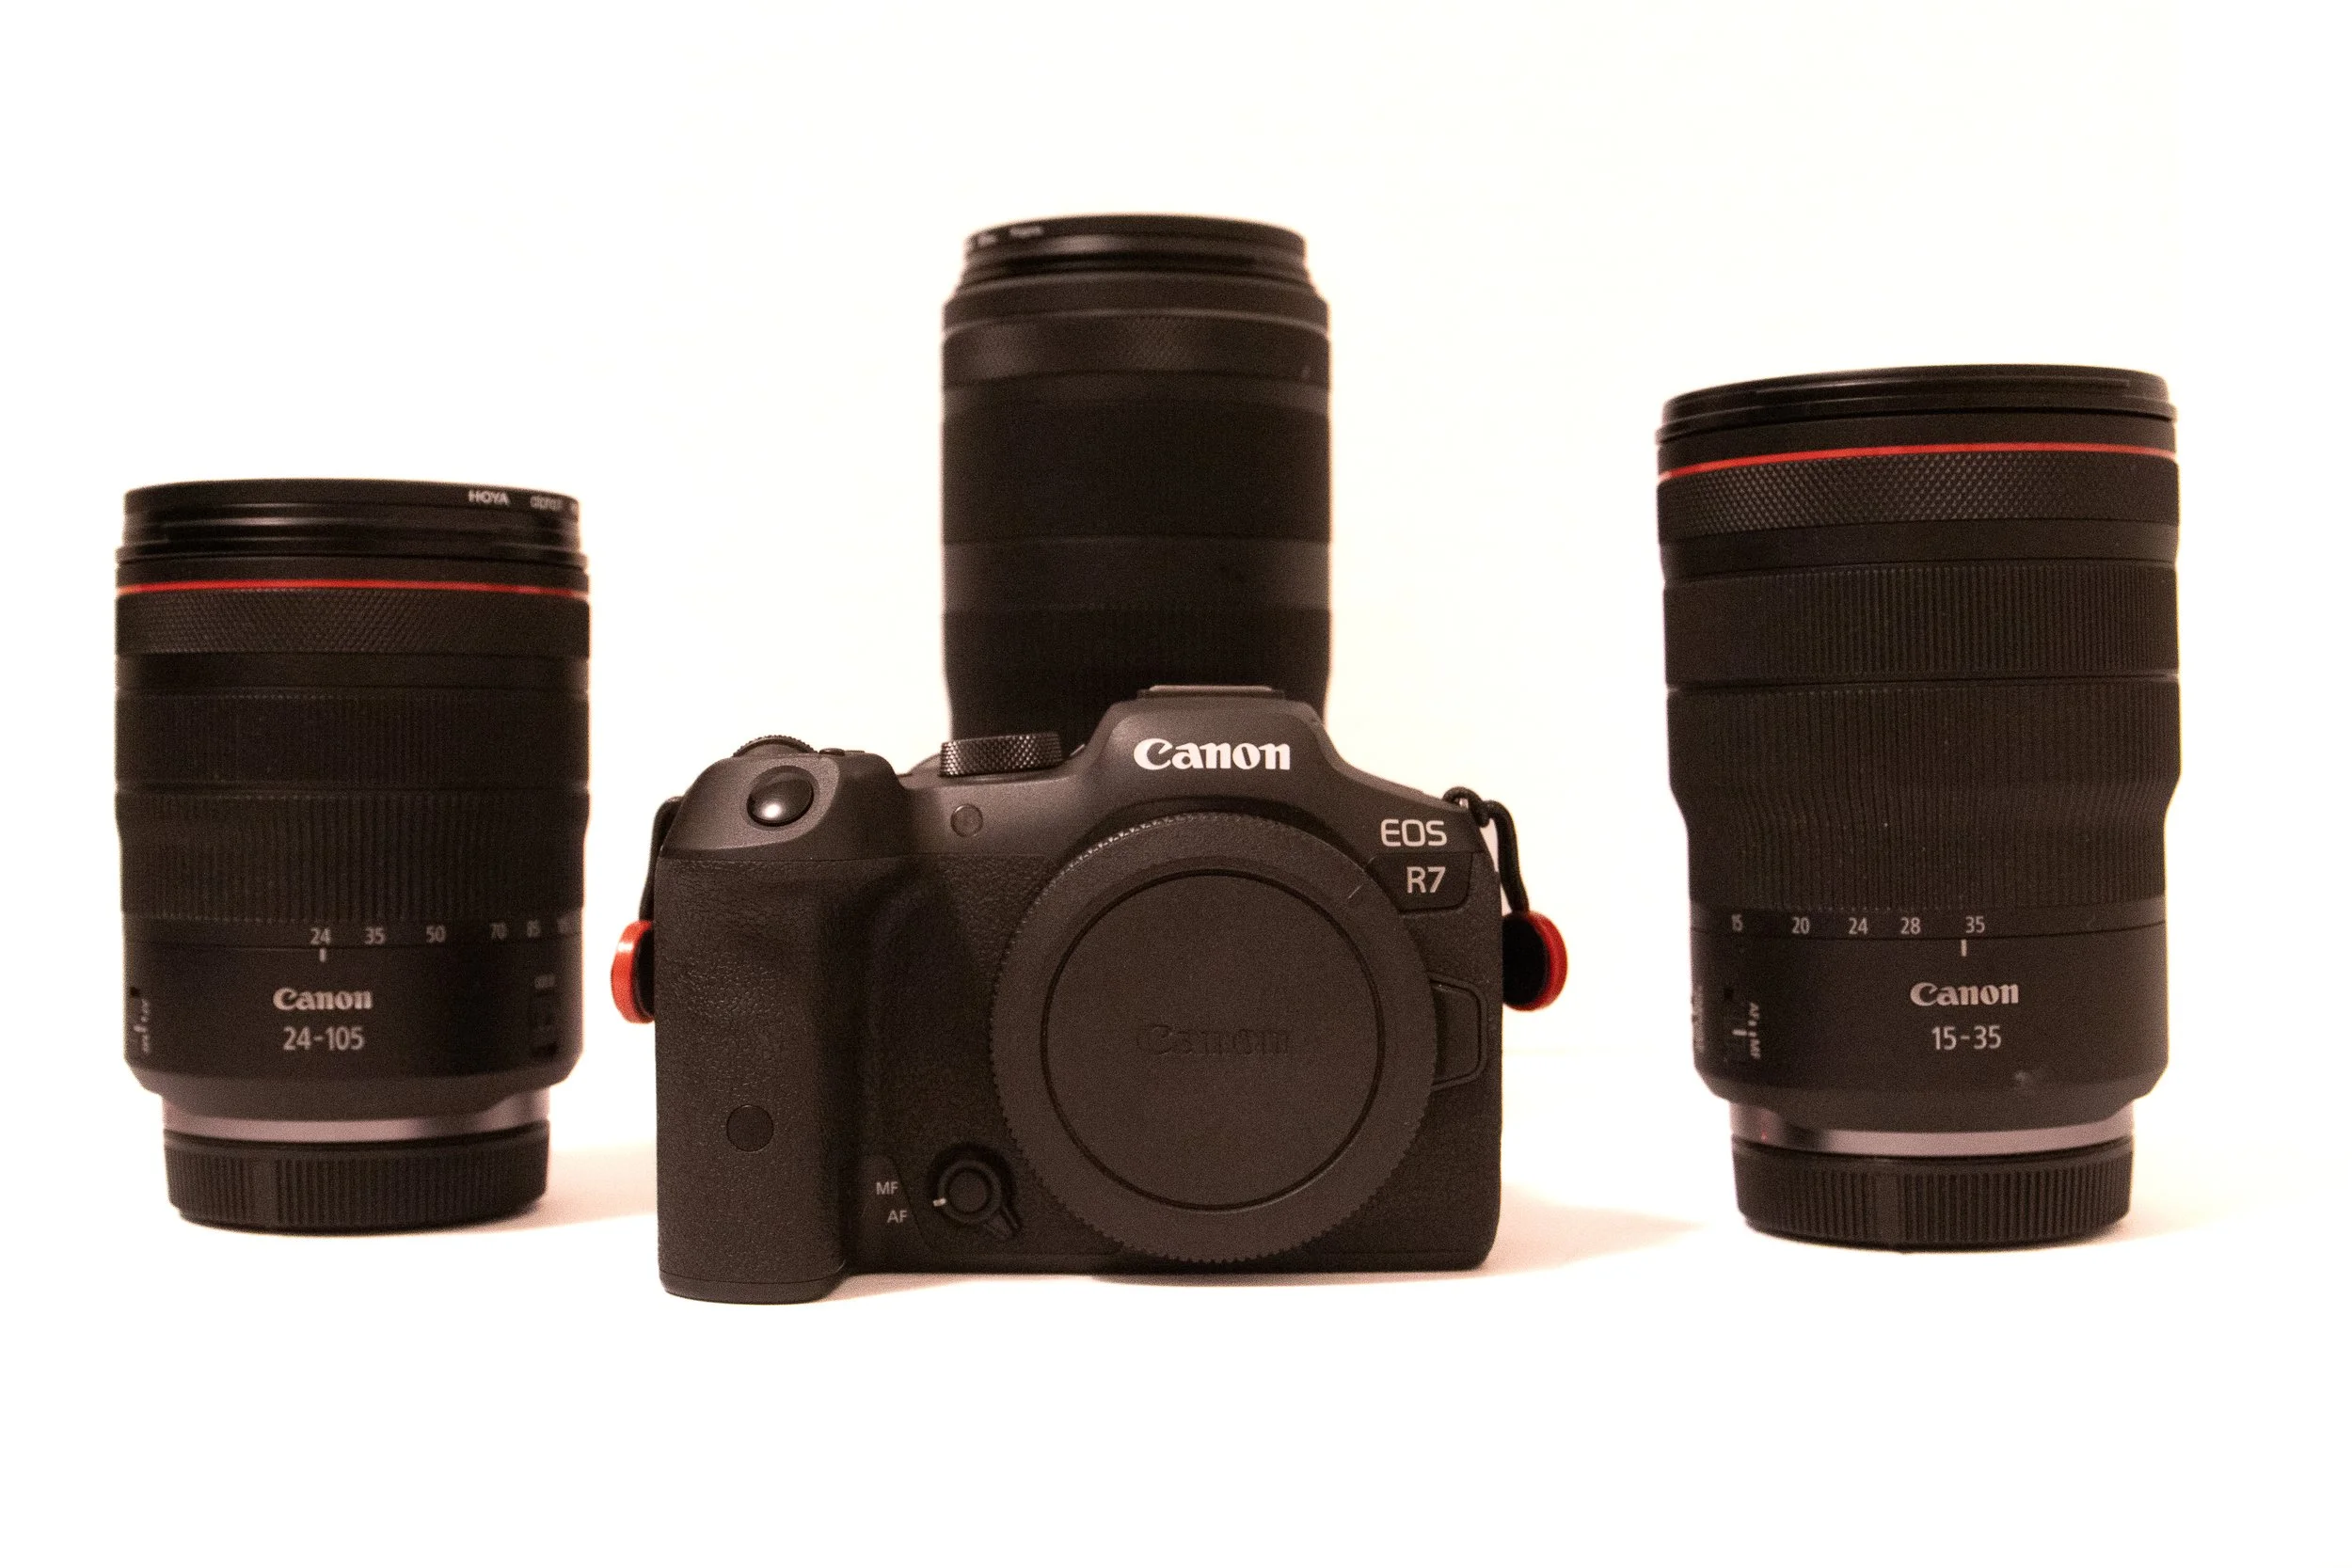
October 11, 2023 Jacob VanOpdorp Gear, Learning Camera Basics October 11, 2023 Jacob VanOpdorp Gear, Learning In this post we take a look at the basics for using your camera. We cover what shutter speed, aperture, and ISO all do and how you can use these three settings to become a master with your camera.
November 11, 2022 Jacob VanOpdorp Space, Learning, Stars, Nebulae , Telescopes, Gear, Editing Deep Space Photography November 11, 2022 Jacob VanOpdorp Space, Learning, Stars, Nebulae , Telescopes, Gear, Editing I go into detail about my gear and process for shooting my deep space targets.
April 15, 2022 Jacob VanOpdorp Shooting Automotive Photography April 15, 2022 Jacob VanOpdorp I talk about how I shoot automotive photography and my workflow for editing photographs of cars.
February 3, 2022 Jacob VanOpdorp Learning, Stars, Space Shooting the Orion Nebula February 3, 2022 Jacob VanOpdorp Learning, Stars, Space I talk about the process of shooting deep space astrophotography and how I edit my deep space photos. Today we are focused on the Orion Nebula.
January 29, 2022 Jacob VanOpdorp RMNP, Mountains Rocky Mountain National Park January 29, 2022 Jacob VanOpdorp RMNP, Mountains I talk about the importance of the mountains in my life, and my recent trip to Rocky Mountain National Park.
January 28, 2022 Jacob VanOpdorp Introduction January 28, 2022 Jacob VanOpdorp I further introduce myself and what got me into photography. I also talk about what I hope to get out of this blog and what I enjoy shooting.